
Top 10 DIY Rustic Home Decor Projects
- Ahmed Aboul-Saoud
- 6 hours ago
- 4 min read
Creating a rustic home decor style can transform your living space into a warm and inviting haven. With a few simple DIY projects, you can add character and charm to your home without breaking the bank. In this post, we will explore the top 10 DIY rustic home decor projects that you can easily tackle, whether you're a seasoned crafter or a beginner.
Why Choose Rustic Decor?
Rustic decor is all about embracing natural materials, earthy colors, and a cozy atmosphere. It often incorporates elements like wood, stone, and metal, creating a sense of warmth and comfort. Here are a few reasons why you might want to consider rustic decor for your home:
Timeless Appeal: Rustic decor never goes out of style. It can blend seamlessly with various design aesthetics, from modern to traditional.
Personal Touch: DIY projects allow you to infuse your personality into your home. Each piece tells a story and reflects your unique taste.
Cost-Effective: Many rustic decor items can be made from reclaimed materials or inexpensive supplies, making it a budget-friendly option.
Now, let’s dive into the top 10 DIY rustic home decor projects that will elevate your space.
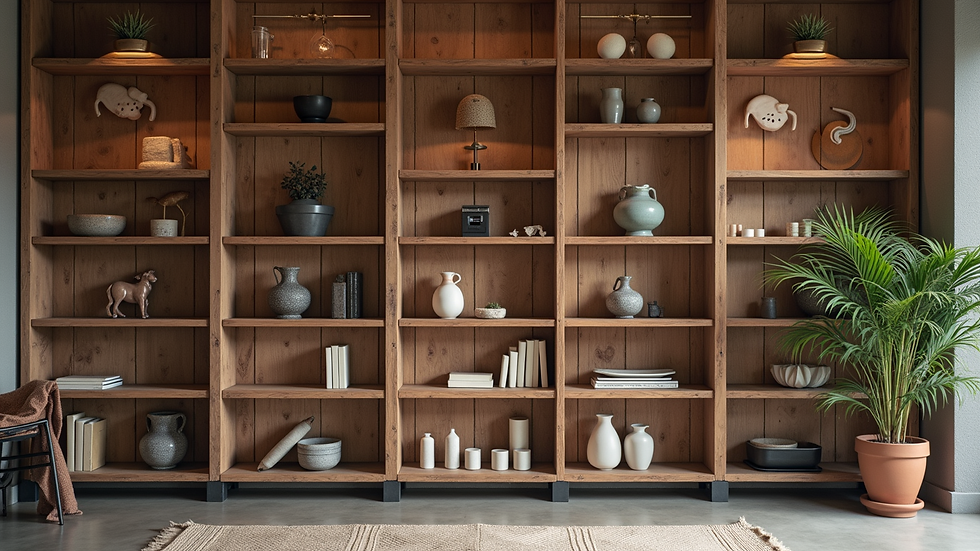
1. Reclaimed Wood Shelves
Materials Needed: Reclaimed wood planks, brackets, screws, sandpaper, wood stain (optional).
Creating rustic shelves from reclaimed wood is a fantastic way to showcase your favorite books or decorative items.
Steps:
Select Your Wood: Choose planks that have character, such as knots and varying colors.
Cut to Size: Depending on your space, cut the wood to your desired length.
Sand and Stain: Sand the edges to smooth them out. If you want a darker finish, apply wood stain.
Install: Use brackets to secure the shelves to the wall.
2. Mason Jar Lanterns
Materials Needed: Mason jars, tea lights or LED candles, twine, and decorative elements (like pebbles or sand).
Mason jar lanterns add a charming glow to any space, perfect for both indoor and outdoor settings.
Steps:
Fill the Jar: Add pebbles or sand to the bottom of the jar for stability.
Insert Candle: Place a tea light or LED candle inside.
Decorate: Wrap twine around the neck of the jar for a rustic touch.
Display: Use them as centerpieces or hang them from trees for outdoor gatherings.
3. Rustic Picture Frames
Materials Needed: Old wood, saw, nails, hammer, and wood glue.
Transform your favorite photos into rustic art pieces with handmade frames.
Steps:
Cut Wood: Cut the wood into pieces that will form the frame.
Assemble: Use wood glue and nails to secure the corners.
Finish: Sand the edges and apply a wood finish if desired.
Insert Photos: Place your photos in the frames and hang them on the wall.
4. Pallet Coffee Table
Materials Needed: Wooden pallets, sandpaper, wood stain, and wheels (optional).
A pallet coffee table is a functional and stylish addition to your living room.
Steps:
Select Pallets: Choose pallets that are in good condition.
Sand: Smooth out rough edges with sandpaper.
Stain: Apply wood stain for a polished look.
Add Wheels: For mobility, attach wheels to the bottom.
5. Vintage Ladder Decor
Materials Needed: Old wooden ladder, paint (optional), and decorative items.
An old ladder can be repurposed into a unique decor piece.
Steps:
Clean the Ladder: Remove any dirt or debris.
Paint (Optional): If desired, paint the ladder in a color that complements your decor.
Display: Lean the ladder against a wall and use the rungs to display blankets, plants, or books.
6. Wooden Signage
Materials Needed: Wood boards, paint or wood burning tools, and stencils.
Handmade wooden signs can add a personal touch to your home.
Steps:
Cut Wood: Cut the wood to your desired size.
Design: Use stencils or freehand to paint or burn your message onto the wood.
Finish: Seal with a clear coat for durability.
Hang: Display your sign in a prominent location.
7. Jute Rope Coasters
Materials Needed: Jute rope, hot glue gun, and scissors.
These coasters are not only functional but also add a rustic touch to your coffee table.
Steps:
Cut Rope: Cut several lengths of jute rope.
Coil and Glue: Start coiling the rope and use hot glue to secure it in place.
Finish: Continue coiling until you reach your desired size.
Use: Place them under drinks to protect your surfaces.
8. Rustic Wall Art
Materials Needed: Canvas, paint, and natural elements (like leaves or flowers).
Create unique wall art that reflects the beauty of nature.
Steps:
Prepare Canvas: Choose a canvas size that fits your space.
Paint Background: Use earthy colors to create a background.
Add Natural Elements: Press leaves or flowers into the paint for texture.
Display: Hang your artwork in a focal area of your home.
9. Farmhouse Style Table Runner
Materials Needed: Burlap or linen fabric, scissors, and sewing machine (optional).
A simple table runner can enhance your dining experience.
Steps:
Cut Fabric: Cut the fabric to your desired length and width.
Finish Edges: If you have a sewing machine, hem the edges to prevent fraying.
Decorate: Add stencils or fabric paint for a personalized touch.
Use: Place it on your dining table for a rustic look.
10. Upcycled Wine Bottle Vases
Materials Needed: Empty wine bottles, paint, and flowers.
Turn empty wine bottles into beautiful vases for fresh or dried flowers.
Steps:
Clean Bottles: Remove labels and clean the bottles thoroughly.
Paint (Optional): Use spray paint or acrylic paint to color the bottles.
Fill with Flowers: Add your favorite flowers for a stunning centerpiece.
Display: Arrange them on shelves or tables for a rustic touch.
Final Thoughts
These DIY rustic home decor projects are not only fun to create but also allow you to personalize your space. By incorporating natural materials and simple designs, you can achieve a cozy and inviting atmosphere that reflects your style.
Whether you choose to make reclaimed wood shelves or upcycled wine bottle vases, each project adds a unique charm to your home. So gather your materials, unleash your creativity, and start transforming your living space today!
Remember, the beauty of DIY is that it’s all about making something uniquely yours. Happy crafting!

Comments